When you build a branch office VPN (BOVPN) on a WatchGuard firewall, it automatically creates policies that allow your device to pass traffic for the VPN. While these policies work well, they also may be more open than what your network needs.
As an example, this is what the default BOVPN policies look like. The key thing to pay attention to on BOVPN policies are the ports and protocols that are referenced, as the From and To are handled when you create the tunnel. As you can see, the default policies allow all ports to pass between this firewall and the remote site that the VPN is built to.
BOVPN Policy change window
Even if you want to leave all ports open between the networks, it is highly recommended that you at least enable logging on these policies, as seen above. Traffic is not monitored by default, but it is important to be able to track any packets traveling between the networks.
Customizing BOVPN Policies
To create a custom BOVPN policy, you first need to remove the tunnel from the default policies:
Select VPN > Branch Office Tunnels
Open the tunnel that you want to edit
Uncheck the box for “Add this tunnel to the BOVPN-Allow policies”
Now you can create your own custom policies:
Select VPN > Create BOVPN Policy; this will start the policy creation wizard, so click Next
Input your desired name for the policy and click Next
Next to the Firewall Policy Type entry, click Choose. From here you will be able to choose a pre-built policy, or you can create a custom policy based on the ports needed for the VPN. Once you have chosen your policy, click Next.
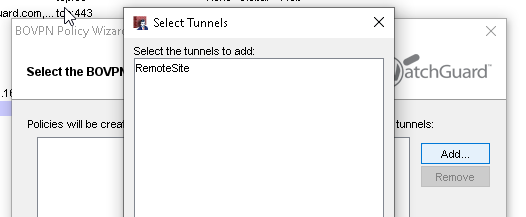
You will next be prompted to select what tunnels to apply this to. Click Add on the right, and choose the appropriate tunnel from the list.
Click Next to finish out the wizard. You will now see these new policies listed. It is recommended that logging be enabled.
WatchGuard BOVPN New Policies listed


